Note about installing MongoDB
September 7th 2020 Update (important, please read carefully):
Hi there,
Please note that your Goorm container already has MongoDB installed if you followed the instructions linked in lecture 248.
If for whatever reason your Goorm container does not have MongoDB installed, then please follow these instructions to add MongoDB to your existing Goorm container.
To run the mongod server in your container, simply type mongod in the terminal window/tab and press enter/return.
This will start the server that is required for you to connect to the mongo shell or connect to a mongodb database in your node applications.
You must leave mongod running in its own terminal while you are working with either the mongo shell or a node app that requires a database. Once you are done working you may return to the mongod terminal tab and turn it off by pressing ctrl+d (that is control and d at the same time).
You can run the mongo shell (where you will access your databases directly) in another terminal window/tab by running the mongo command. Once inside of the shell, you can run the commands that will be taught in the next lecture. To exit the shell type exit and press enter/return (or just press ctrl+d).
As a side note: In the Mongo Shell Basics video that follows, you will see Colt use the show collections command which will show something called system.indexes . This will no longer show up in the latest versions of MongoDB. You can read more about this here.
-------
Thanks,
Ian
'Full stack development > The Web Developer Bootcamp(2020)' 카테고리의 다른 글
| 306. Introduction to Mongoose Pt. 2 (0) | 2020.09.27 |
|---|---|
| 305. Introduction to Mongoose Pt. 1 (0) | 2020.09.27 |
| 303. Mongo Shell Bacis (0) | 2020.09.27 |
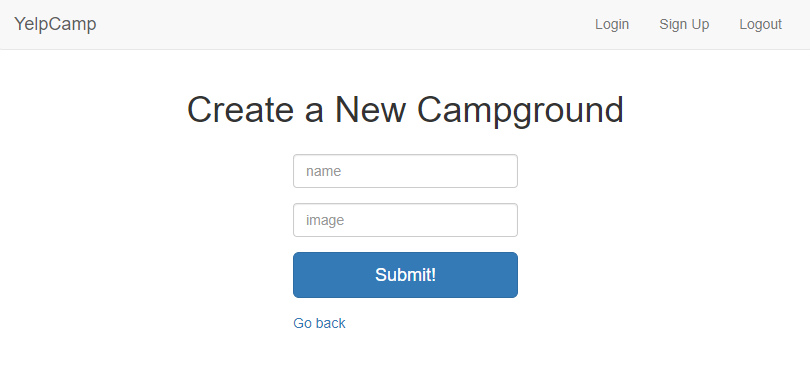
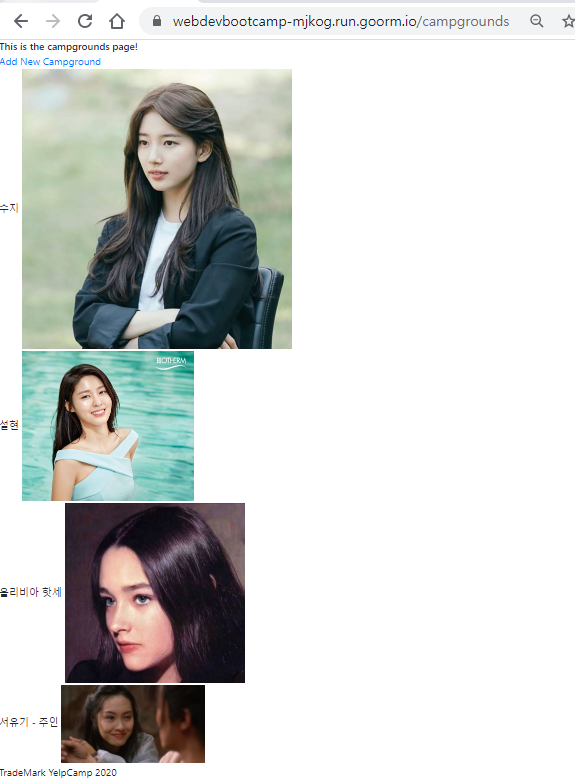
| 300. YelpCamp: Styling Nav and Forms (0) | 2020.09.26 |
| 299. YelpCamp: Styling Campgrounds (0) | 2020.09.26 |